

About Neon Console
The Neon Console is your control center for working with Neon. It’s where you configure your integration, manage your titles and environments, and control how your Shop and Checkout look and behave.
From the Console, you can access your API keys, manage your production and sandbox-mode configuration, and set up key parts of your integration, including Shop and Checkout. It also allows you to manage your Shop inventory and enable features like Promo Codes or Daily Streaks.
If you don't yet have access to the Console: please reach out to your Neon Customer Success Manager.
If you’re new to Neon: contact [email protected] and we’ll get you set up.
Once you log in, you’ll see the main Console interface for your title. A sandbox environment is created for you in advance during Console activation, allowing you to start testing your integration right away.
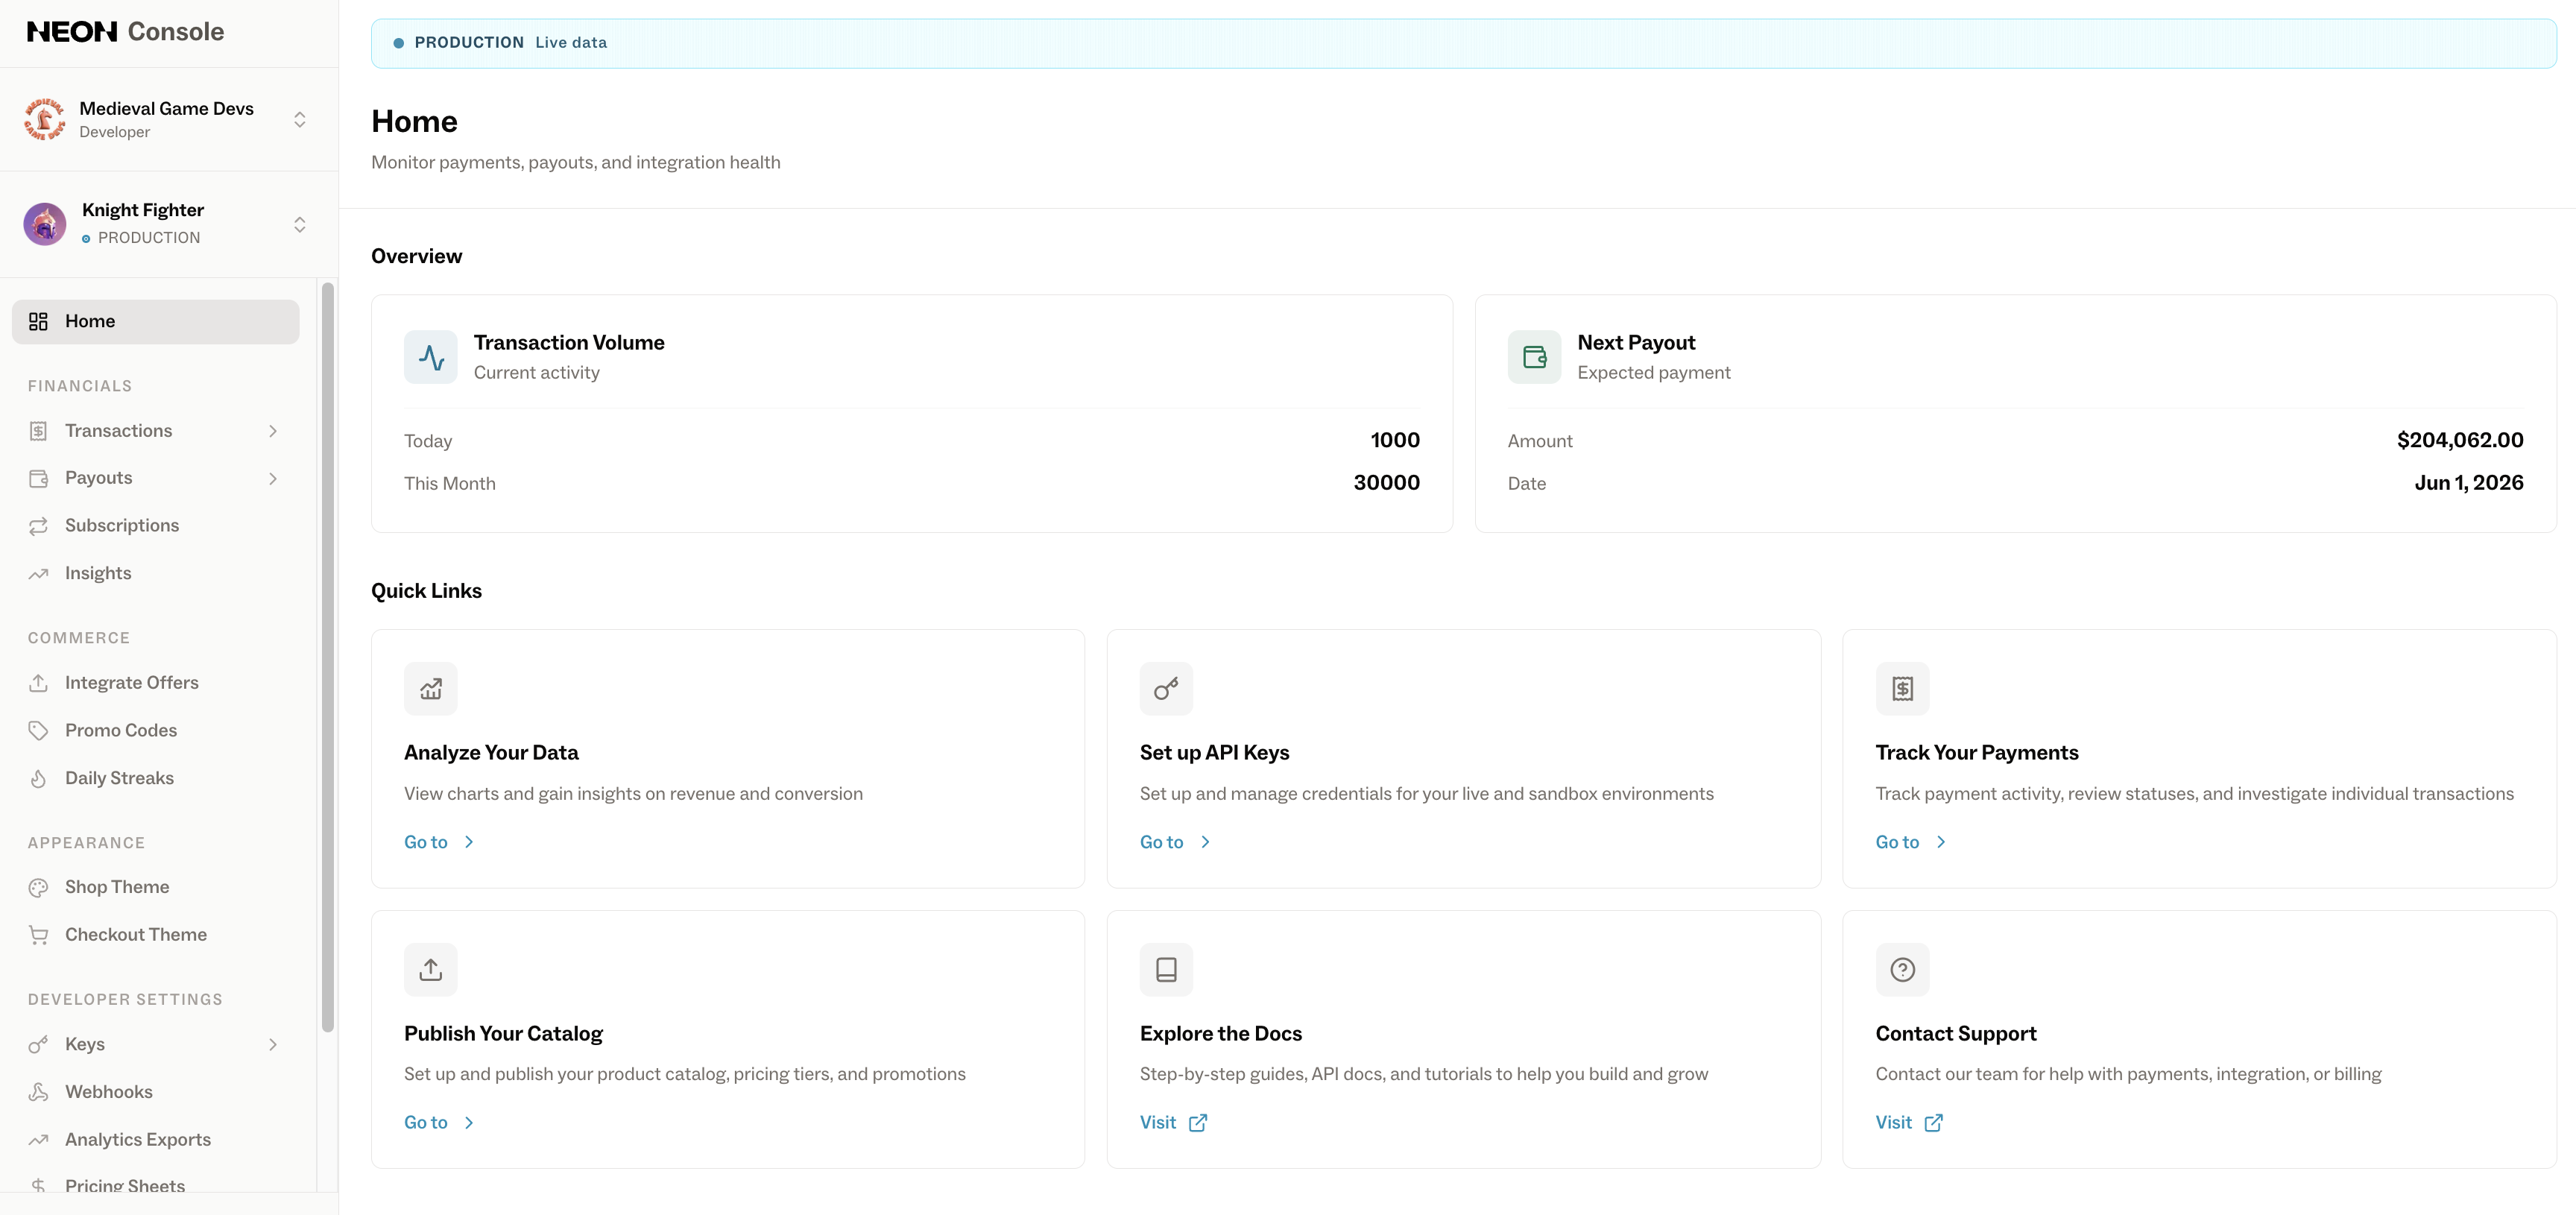
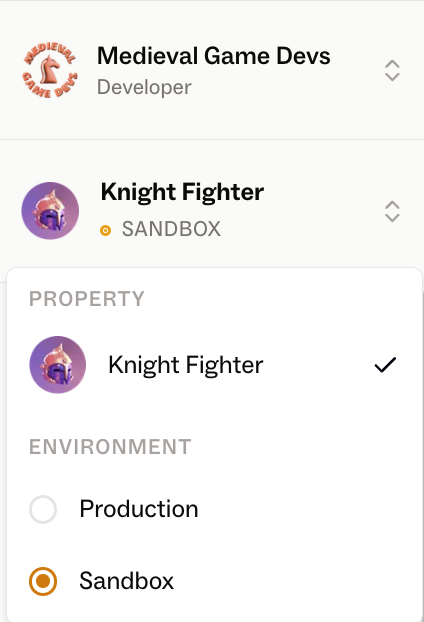
At the moment, environment and title setup is handled manually; new titles and additional environments (such as Production or Sandbox) are created on request by the Neon team. (Reach out to your Customer Success Manager for help setting up new environments.) Each environment stores its own Neon configuration and settings, including API keys, registered webhooks, etc.
Once you have access, you can navigate through the different sections of the Console to configure your integration and explore available features.